
People love the warmth and shade of timber flooring that increases the value of the house. When you install expensive flooring, you want it to last for years. Timber flooring requires sanding to enhance its artistic value. Even after years when you apply sanding and polishing on your old timber floor, it becomes new. The sanding process has to be done by a professional to increase its polishing look and warmth in the house.
You may try sanding and polishing on your own, but it will not be as perfect as done by a professional. FlooringDomain helps in connecting people of Australia to their nearby area flooring companies and services. Whether it is installation, polishing, sanding, removal, cleaning, coating, removal, repairing, etc. you’ll get all types of information on their website. They aren’t any service company, but a connector between client and business. If you need floor sanding Gold Coast, Heads, Brisbane, Tweeds, and other adjacent areas, then try the most helpful online site FlooirnDomain.
Sanding process needs to be completed first so that the professionals can start with polishing. The type of sanding used on the timber floor will determine the strength of the flooring. Places where people walk continuously like kitchen, patio, offices, and hotels need strong as well as enduring finish. Even before sanding and polishing process starts, all other task needs to be completed.
Steps Before Sanding Process
When there is any need for sanding and polishing on your tired looking flooring, then you need to follow these simple processes to make the sanding process slightly easier –
- Remove the furniture from the room where sanding is to be done. If the furniture is part or adjoined to the room, then ensure it is covered properly so that it is damaged during the process.
- If there is hardwood flooring or carpet above the timber floor, then it has to be removed. Carpets will not be removed by professionals unless they are glued to the floor.
- Ensure there is no loose nail protruding out from the floor. Nails or other sharp objects can scratch the belt of the sanding machine which can damage the outcome.
- Sanding process generates fine dust, which can pollute the air. Cover all ventilation, pug pints, electronic devices, and keep your family away.
- Remove or vacuum all debris on the floor for smooth sanding and keep all windows for that room open during the ongoing process to let fresh air in.
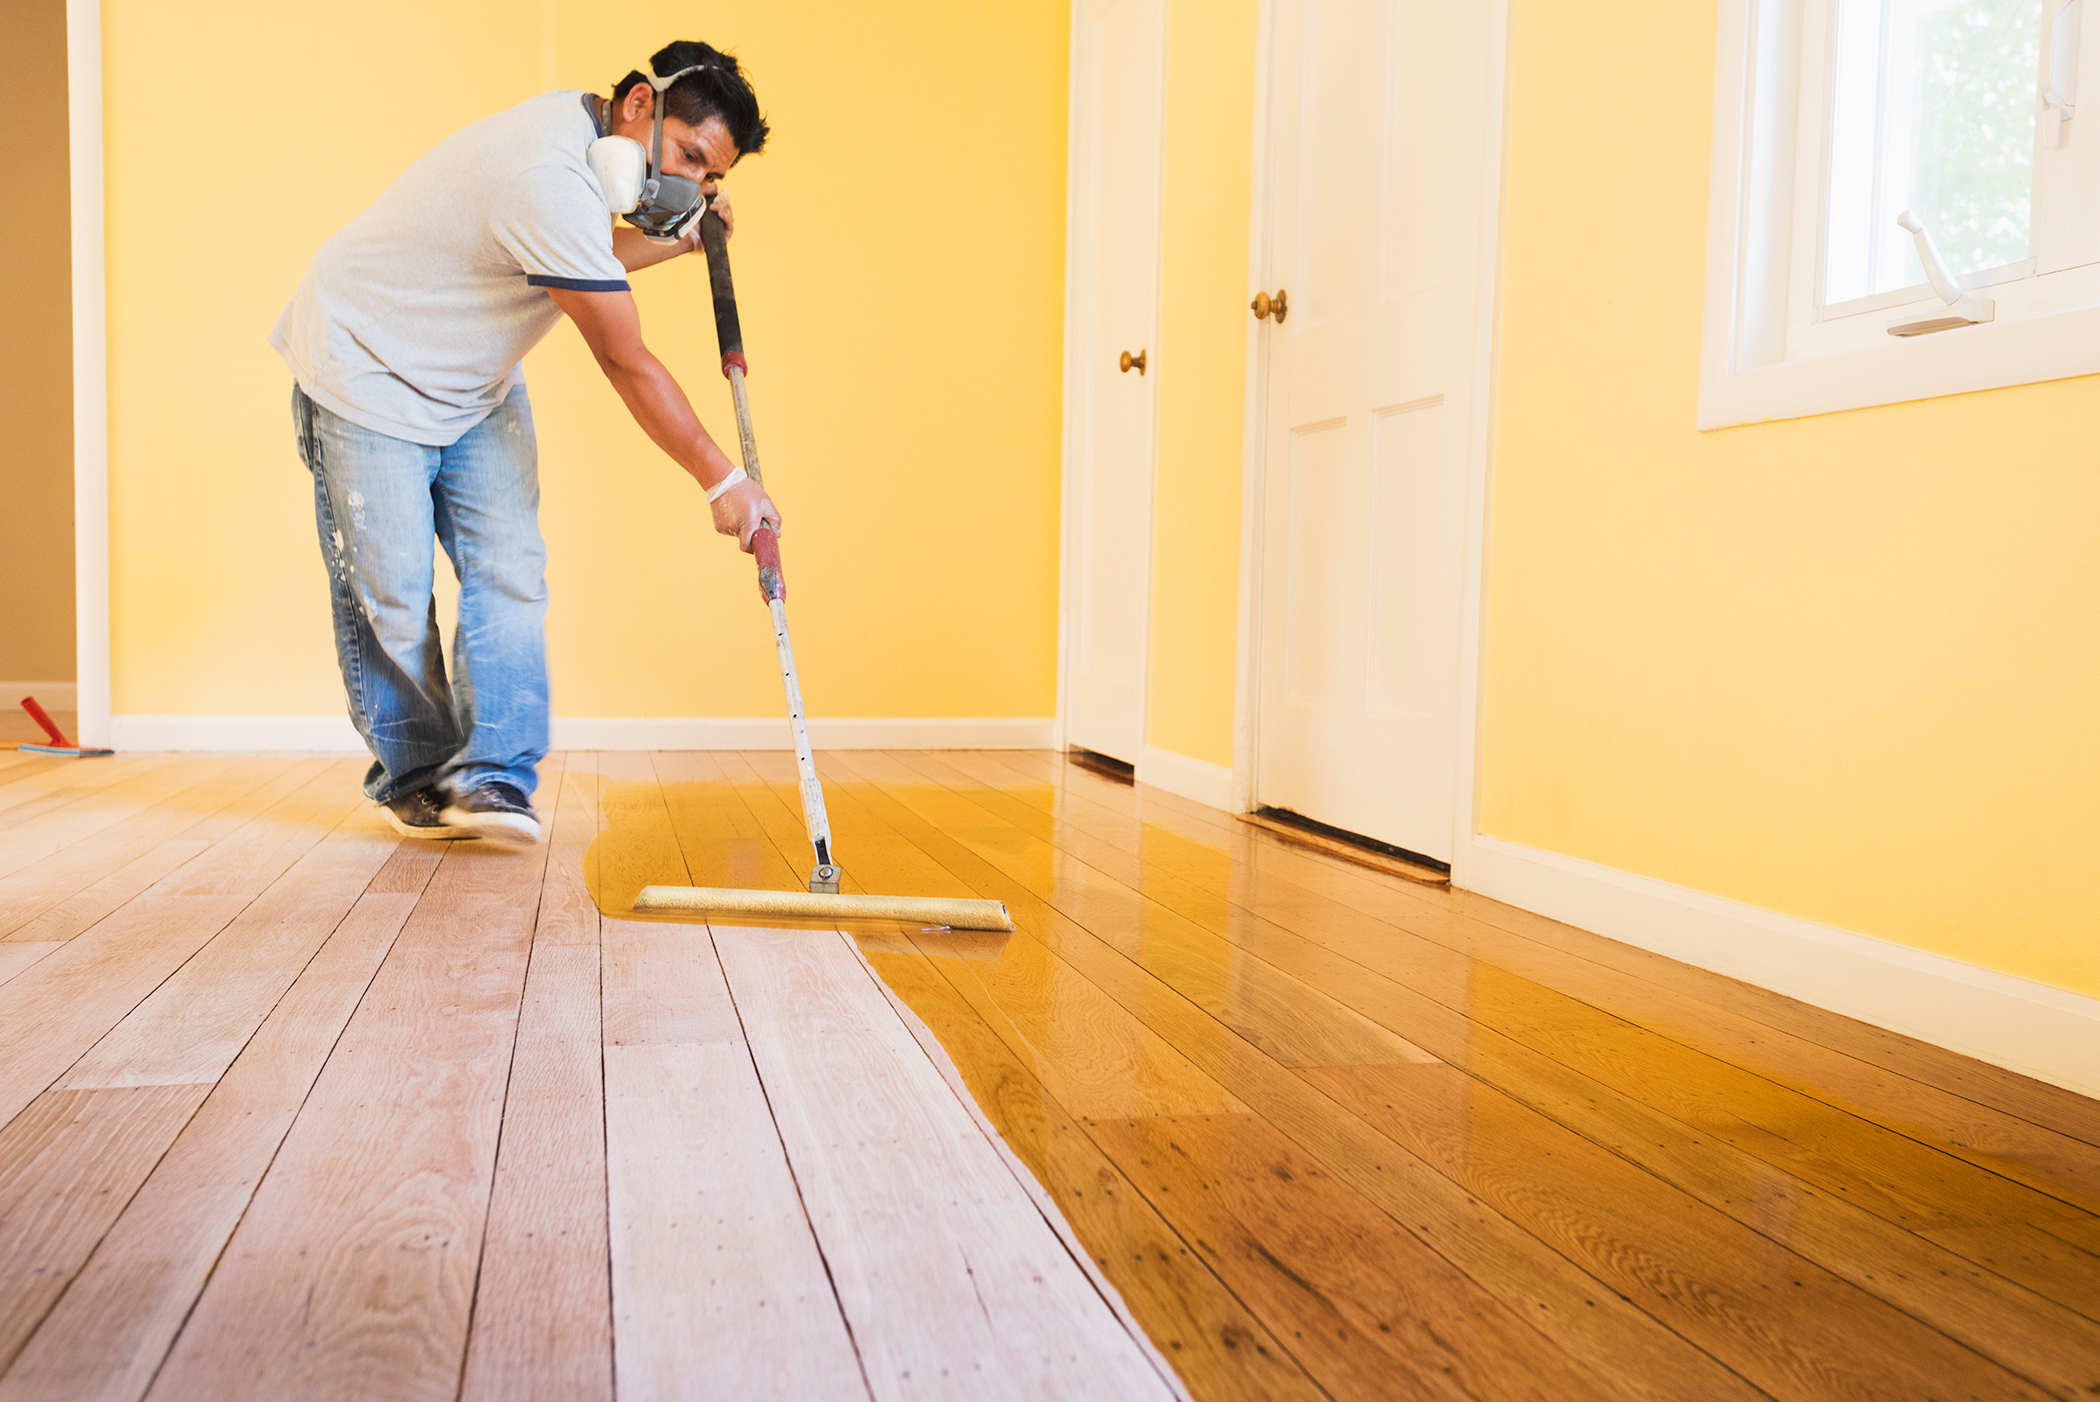
- Remember to cover your face with a mask, eyeglasses, and keep your family and pets at safe distance.
Process of Sanding
There are two types of machines required for the sanding process –
- Drum sander
- Edge sander
First Stage
In the initial stage, coarse sandpaper is used. Start from one corner of the room and end diagonally to the next corner. Repeat this process three times. Then, finish the corners with the edge sander.
Middle Stage
The first stage removes the entire outer layer and flattens the surface. The second stage removes the scratches created by the first process. This time the sanding process is performed on the floorboard.
Last Stage
The final step is to smooth the entire timber floor. During this process, the holes on the floor are filled with water-based puffy and they’re allowed to dry. After drying, they’re scrapped with sandpaper just like in the middle stage. This work is repeated until the homeowner isn’t satisfied with the smoothness and shine of the floor.
The time is taken during the floor sanding and polishing process depends upon the professionals and the quality of the product and chemicals being used. Sanding and polishing help in getting back the same look on the floor within budget. There may be pet stains and other tough stains which may not vanish, but it lightens enough to give a satisfying look.